
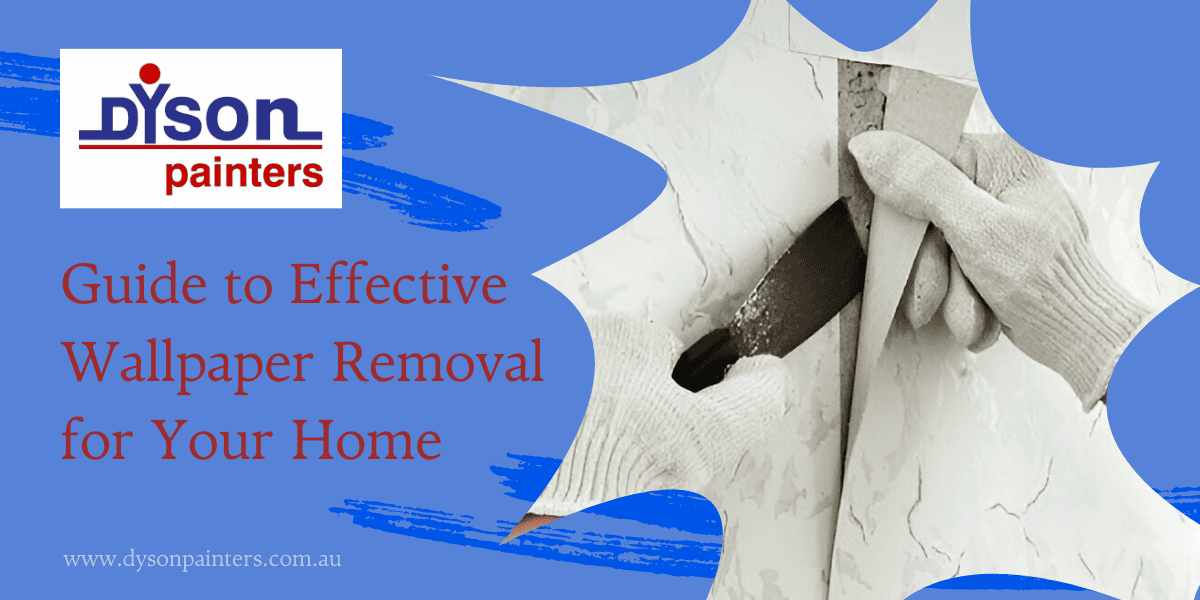
Wallpaper can add a unique charm to your home. However, styles and tastes evolve, and what was once trendy may now feel outdated. Removing old wallpaper can be a daunting task for any homeowner, but it doesn’t have to be. This guide will help you navigate the process smoothly and efficiently. Whether you’re planning a full home renovation or just a room refresh, understanding how to properly remove wallpaper is essential. For those who find the task too overwhelming, seeking a wallpaper removal service can be a wise choice. Professional wallpaper removal experts have the experience and tools to handle even the trickiest jobs.
How to Prepare
Before diving into the wallpaper removal process, preparation is key. Proper preparation ensures the job is done safely and effectively, minimising damage to your walls and reducing the time and effort required. Here are the steps you should follow to get ready for wallpaper removal.
Gather Supplies
To start, you’ll need a variety of tools and supplies. Having everything ready beforehand will save you time and frustration.
Essential Tools:
- Scraper: A wallpaper scraper is vital for peeling away old paper without damaging the wall underneath.
- Sponge: A sponge is necessary for cleaning the wall as you remove the wallpaper.
- Wallpaper Steamer: This tool helps to loosen the adhesive, making it easier to strip the wallpaper.
- Utility Knife: Useful for cutting through wallpaper seams and edges.
- Bucket: You’ll need a bucket for holding water and any wallpaper removal solutions.
- Wallpaper Removal Solution: While water can work, a commercial wallpaper removal solution can make the job easier.
- Spray Bottle: This can be used to apply water or the wallpaper removal solution evenly.
- Putty Knife: For removing any stubborn adhesive left on the wall.
- Drop Cloths: To protect your floors and furniture from debris and water.
Protective Gear:
- Gloves: Protect your hands from chemicals and sharp tools.
- Goggles: Safety goggles will keep any debris and cleaning solution out of your eyes.
By gathering these supplies in advance, you’ll be well-prepared to tackle the job efficiently. Consider wallpaper removal services to save money on buying the tools and safety gear for a one-time job.
Protect Your Space
Removing wallpaper can be messy. To avoid damage to your home, it’s essential to protect your space.
- Cover Floors and Furniture with Drop Cloths: Lay drop cloths or plastic sheeting over your floors and any furniture that can’t be moved. This will protect surfaces from water, adhesive residue, and small debris.
- Remove or Protect Outlet Covers and Switches: Electrical outlets and light switches should either be removed or covered. Use painter’s tape to secure plastic coverings over outlets and switches. This precaution prevents water from getting into electrical systems and protects the fixtures from damage.
Taking the time to protect your space will save you a lot of cleanup effort later and ensure your home remains in good condition throughout the process. It is best to hire a professional wallpaper removal service in Hobart especially if you are doing it for the first time or want to avoid any hassle.
Testing the Wallpaper
Determine Wallpaper Type
The first step is to identify whether your wallpaper is dry-strippable, peelable, or traditional. This knowledge will guide you in choosing the right removal technique.
- Dry-Strippable Wallpaper: This type is the easiest to remove. If your wallpaper is dry-strippable, it should peel off in large sheets with minimal effort. To check, use a utility knife to lift a corner of the wallpaper. If it comes off easily and cleanly, it is likely dry-strippable.
- Peelable Wallpaper: Peelable wallpaper has a top layer that comes off, leaving a paper backing on the wall. You’ll need to remove the top layer first, then soak and scrape off the backing. Again, use a utility knife to lift a corner. If the top layer peels away, leaving a backing, it is peelable.
- Traditional Wallpaper: This type is more challenging to remove as it is fully adhered to the wall. It will require soaking and scraping. To identify it, try peeling a corner with a knife. If it doesn’t peel easily and seems firmly attached, it’s traditional wallpaper. For this type, it is best to hire a professional wallpaper removal service.
Removal Methods
Now that you’ve determined the type of wallpaper in your home and tested the best removal method, it’s time to start the actual removal process. Here are the most effective methods for removing wallpaper: dry-strippable, water and sponge, and using a wallpaper steamer. Each method requires specific tools and techniques, so choose the one that best fits your wallpaper type and condition.
Dry-Strippable Wallpaper
Follow these steps for an easy and efficient process:
- Start at the Seams: Locate a seam or edge of the wallpaper. Use a utility knife to gently lift a corner of the wallpaper.
- Peel at a 45-degree Angle: Once you have a corner lifted, carefully peel the wallpaper back at a 45-degree angle. This angle helps prevent tearing and keeps the process smooth.
- Work Slowly: Continue peeling the wallpaper off the wall in large sections. If the wallpaper starts to tear, stop and find another seam or edge to lift and continue peeling.
- Remove Residue: After all the wallpaper is removed, check for any adhesive residue on the wall. Use a sponge with warm water and mild detergent to clean off any leftover glue.
Dry-strippable wallpaper should come off easily, leaving your walls relatively clean and undamaged. If you encounter any difficulties, you may need to switch to a more intensive removal method or call a wallpaper removal service.
Water and Sponge Method
The water and sponge method is ideal for peelable or traditional wallpaper with water-soluble adhesive. Here’s how to do it:
- Prepare the Solution: Mix warm water with a wallpaper removal solution in a bucket. You can also use a mix of water and vinegar or water and fabric softener as an alternative.
- Apply the Solution: Use a sponge or spray bottle to thoroughly soak the wallpaper. Start at the top and work your way down, ensuring the wallpaper is evenly saturated.
- Wait: Allow the solution to penetrate and soften the adhesive. This usually takes about 15-20 minutes.
- Scrape the Wallpaper: Once the wallpaper is softened, use a wallpaper scraper or putty knife to gently scrape it off the wall. Start from the seams and work your way down, being careful not to damage the wall surface.
- Clean the Wall: After removing the wallpaper, use a sponge with clean water to remove any remaining adhesive.
This method can be time-consuming but is effective for removing wallpaper without causing significant damage to the walls.
Wallpaper Steamer Method
For stubborn wallpaper that resists other removal methods, professional wallpaper removal services use a steamer. Follow these steps to use it safely and effectively:
- Prepare the Steamer: Fill the wallpaper steamer with water according to the manufacturer’s instructions. Allow it to heat up fully before use.
- Steam a Section: Hold the steamer pad against the wallpaper for about 15-20 seconds to soften the adhesive. Start at the top and work your way down in sections.
- Scrape the Wallpaper: Once the adhesive is softened, use a scraper to remove the wallpaper. Work in small sections to keep the adhesive soft and manageable.
- Repeat: Continue steaming and scraping until all the wallpaper is removed.
Safety Precautions:
- Wear Protective Gear: Use gloves and goggles to protect yourself from hot steam and any debris.
- Ventilate the Room: Ensure good ventilation to avoid inhaling steam and fumes from the adhesive.
- Handle with Care: Be cautious when handling the steamer to prevent burns. Follow the manufacturer’s safety guidelines.
Using a wallpaper steamer can be very effective for tough wallpaper but requires careful handling and patience. If you are doing it for the first time or are unsure, consider consulting wallpaper removal services.
Cleaning and Repairing Walls
After successfully removing your wallpaper, the next crucial steps are cleaning any leftover residue and repairing any damage to your walls. Proper preparation of your walls ensures a smooth and professional finish, whether you plan to paint or apply new wallpaper.
Removing Residue
Once the wallpaper is off, you’ll often find adhesive residue left behind. Removing this residue is essential for a clean surface.
- Vinegar Solution: One of the most effective and natural solutions for removing adhesive is a mixture of vinegar and water. Mix equal parts of white vinegar and warm water in a spray bottle. Spray the solution generously over the adhesive residue and let it sit for a few minutes. Then, use a sponge or cloth to scrub the residue away.
- Commercial Adhesive Remover: If the vinegar solution isn’t effective, consider using a commercial adhesive remover. These products are specifically designed to break down wallpaper adhesive. Follow the manufacturer’s instructions for the best results or consult a wallpaper removal service.
- Sponge and Warm Water: For light adhesive residue, sometimes warm water and a sponge are sufficient. Soak the sponge in warm water and scrub the residue gently. This method might require more elbow grease but is a good first step.
Removing all adhesive residue is vital because any leftover can affect the adhesion of new paint or wallpaper.
Wall Repair
Once your walls are free of adhesive, it’s time to repair any damage that occurred during wallpaper removal.
- Patching Damage: Inspect your walls for any holes, gouges, or other damage. Use a quality spackling compound to fill in any imperfections. Apply the spackle with a putty knife, smoothing it out and ensuring it’s level with the wall surface. Allow it to dry completely according to the product instructions.
- Sanding: After the spackle has dried, sand the patched areas with fine-grit sandpaper until smooth. Sanding ensures the surface is even and ready for priming or painting. Be sure to sand any other rough areas or remaining adhesive residue as well.
- Smoothing the Surface: After sanding, wipe down the walls with a damp cloth to remove dust. This step ensures a clean surface for the next stages of wall preparation.
Finishing Touches
Priming the Walls
Priming is a crucial step before painting or applying new wallpaper. It creates a uniform surface and ensures better adhesion of paint or wallpaper.
- Importance of Priming: Priming seals the surface, blocks stains, and provides a base for paint or wallpaper. It prevents the new paint or wallpaper from peeling and ensures a longer-lasting finish.
- Choosing the Right Primer: Select a primer suitable for your wall type and the final finish you desire. For walls previously covered with wallpaper, a high-quality, stain-blocking primer is often best.
- Applying Primer: Use a roller or brush to apply the primer evenly across the wall. Follow the manufacturer’s instructions regarding drying time before proceeding to paint or wallpaper. Or get expert recommendations from professional wallpaper removal services.
Final Inspection
Before you consider the job complete, perform a final inspection to ensure your walls are ready for their new look.
- Ensure Cleanliness: Check that all adhesive residue is removed and that the walls are clean.
- Smooth and Even Surface: Make sure the wall surface is smooth, with no remaining bumps or rough patches from the wallpaper removal process.
- Dry Walls: Confirm that your walls are completely dry, especially if you use water or liquid solutions for cleaning. Damp walls can cause issues with new paint or wallpaper adhesion.
Book a Free Consultation Now!
Frequently Asked Questions
Q: How long does the wallpaper removal process take?
A: The time required for wallpaper removal varies based on the wallpaper type, the size of the area, and the condition of the walls. Generally, it can take a few hours to a couple of days. If you think the job is tricky, it is best to hire a wallpaper removal service.
Q: Can I paint over existing wallpaper instead of removing it?
A: While painting over wallpaper is possible, it’s not recommended. The texture and seams of the wallpaper can show through, and the adhesive may not hold up, causing the wallpaper to peel. Only a professional wallpaper removal service can help you decide after inspecting the condition of your wallpaper.
Q: What should I do if I find mould or mildew behind the wallpaper?
A: If you discover mould or mildew behind your wallpaper, it’s essential to address it immediately. Remove the affected wallpaper and clean the area with a mold-killing solution. Consider consulting a professional for extensive mould issues.
Q: Will removing wallpaper damage my walls?
A: Proper techniques and tools minimise wall damage. However, some minor repairs may be necessary afterwards. Professional wallpaper removal services can help ensure the process is as gentle as possible.
Hire the Best Painters in Hobart
Hire the best painters in Hobart and experience the difference quality makes. At Dyson Painters, our skilled team delivers exceptional results, using premium materials and expert techniques to ensure your space looks stunning. From meticulous prep work to flawless finishes, we handle every detail with care. Contact us at 0420-213-214 or email us at admin@dysonpainters.com.au
to schedule a consultation. Let’s bring your vision to life with the finest painting and wallpaper removal service in Hobart!


